


Support and resistance levels work under the following conditions

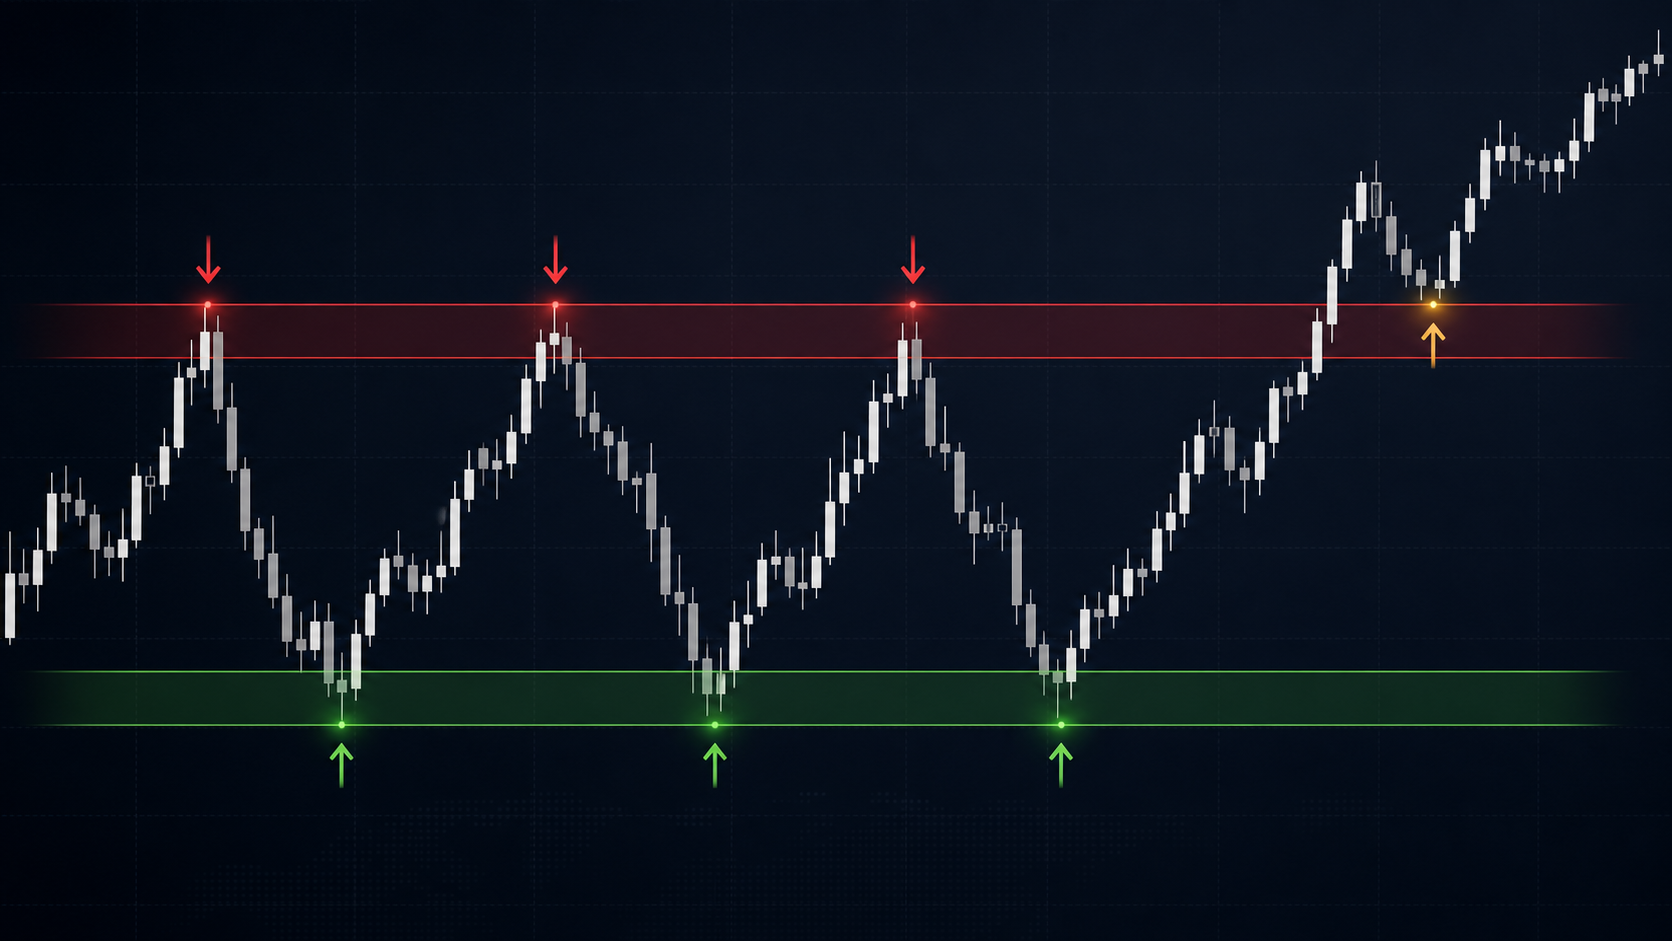
Support and resistance zones are among the first concepts traders learn. Yet many traders still use them incorrectly.
The reason is simple: they treat them as exact lines instead of areas of interest.
The market rarely reacts perfectly to a single price. More often, price enters a zone, tests liquidity, creates a reaction, and only then shows whether the level matters.
1. Support and Resistance Do Not Work by Themselves
A line on the chart is not a reason to enter a trade.
A zone starts to matter when the market shows a reaction around it. That means price action must confirm that buyers or sellers are active there.
Support works when price stops falling, shows rejection, and starts building a stronger reaction upward.
Resistance works when price stops rising, shows rejection, and buyers begin to lose control.
2. The Zone Must Be Visible to the Market
The more obvious a zone is, the more market participants are likely to watch it.
Strong zones usually form around:
previous highs;
previous lows;
areas of sharp rejection;
places where a strong move started;
levels that have been tested more than once.
If only you can see the zone, it probably does not have enough significance.
3. There Must Be a Reaction, Not Just a Touch
Touching a zone is not confirmation.
Confirmation comes from the reaction after the touch. This can be a strong candle, a change in structure, a slowdown in momentum, or a clear failure to continue.
What matters is not only where price goes, but how it behaves when it gets there.
4. Context Must Support the Idea
The same zone can behave differently in different contexts.
Support in a strong uptrend has a better chance of holding. Support in a strong downtrend can break easily.
The same applies to resistance. If the market approaches with strong bullish momentum, an old resistance zone may not be enough to stop the move.
Always consider trend direction, momentum strength, nearby liquidity zones, the higher timeframe, and whether news or a fundamental catalyst is present.
5. The Zone Must Offer Good Risk
Even a good zone is not a good trade if the risk is poor.
Before entering, you need to know where the idea becomes invalid. If the stop needs to be too wide and the potential reward is limited, the trade is not attractive.
Support and resistance zones are useful when they provide a clear invalidation point.
6. Break and Retest Can Be Stronger Than the First Test
Many traders wait for price to touch a zone and enter immediately.
A more professional approach is to wait for a breakout, a retest, or a reaction after the first test.
When old resistance breaks and then holds as support, that is often a stronger signal than the initial reaction itself.
The same applies in reverse: old support that breaks and then becomes resistance can create a much cleaner scenario.
Conclusion
Support and resistance zones work when there is context, reaction, and clear risk.
They are not magic levels where price must reverse. They are areas where we observe market behavior.
The real edge does not come from drawing more lines. It comes from knowing which zones deserve attention and when the reaction around them is strong enough.